How To Instantly Improve Shooting In Natural Light
“Wow Sam, an article on how to use sunlight to get nice images? How original.”
I know, it may sound like I’m scraping the bottom of the barrel for ideas here, but please give me a chance! Figuring out how to make the most of shooting in natural light is a key part of learning to become a successful photographer or videographer. But I want to take it a step further than other posts you’ve read on this and tell you how to make the most of natural light in any weather situation, at any time of day.
Yes, that’s right! I want to actually tell you more than simply just ‘shoot at golden hour’ or ‘wait for the light to be right before shooting’. We don’t always have the time to hang around all day for a break in the clouds or maybe your shoot doesn’t work at sunrise or sunset.
I know what it’s like to be in the kind of situations where it is raining all day long and the sky is ultra-dark even when the sun is at its highest. I understand how hard it can be to get beautiful looking shots when you’re in an open field with no way to control harsh mid-afternoon sunlight. I’ve shot in pretty much all weather conditions at any given time of day, trust me when I say that while it can be tough, you can get great images no matter what kind of natural light you’re working with.
So where do we start?
Control The Natural Light
Right now you’re probably thinking ‘But how am I meant to control the sun?’, and I can completely understand why you might think it’s impossible, I used to think the same.
But what you actually want to do is take a look at wherever you’re shooting, whether it’s indoors or outdoors, and observe where the light is coming from, the surfaces it’s hitting, what it’s possibly reflecting from, and any pockets of light and shadow that are being created.
It’s a lot to try and ‘read’ from your scene all at once, but it’s an important skill to learn. Having this skill allows you to decide on the spot where is best to place your subject and what angle you want to film from.
Being able to make these decisions quickly effectively then frees you up to begin figuring out what light you can begin subtracting from your image to get a good balance of contrast and shape in your shot.

For example, if you are shooting outdoors in a busy urban area just after midday you can bring your subject into the shadow of a building to give more even light across their face. Alternatively, you could position them with a large wall or window off to the side to bounce light across their face to add shape to the image.
On dull days with grey skies, you may find it more difficult to add contrast to your image as the clouds essentially act as one huge softbox throwing even lighting everywhere. Instances like this are very tricky to deal with (even though they’re really common here in the UK and Ireland) but you can mitigate it and add contrast back into your scene by moving your subject to the edge of soft shadows being cast by trees or overhangs on buildings. You can also use this as a time to experiment with finding areas of good colour contrast to help make your image more dynamic.
Making the most of natural light while shooting indoors is in some ways more limiting but it can be easier too, as windows become your source of light.
Window light is fantastic as when positioned to the back or side of your camera, it acts as a great key light for your subject. The light roll-off in-camera can look fantastic too, allowing you to get amazing looking shots, with great contrast across the image, using fairly little effort. The drawback is that, unless you can rotate the building you’re in, you are stuck with whatever position the windows are in. In cases where your room design isn’t great this can feel like a really limiting factor.

If you are struggling to get the right balance in your image by trying to rely on your surroundings then it’s time to figure out how you can begin shaping the available light. In cases like this, you will either need some extra helping hands or additional time before your shoot to set up everything you need to shape your light.
Using a 5-in-1 reflector to diffuse, add, or take away light from your shot is a great way to shape your light if you are on a run and gun kind of shoot. I try to avoid using the silver and gold sides of the reflector if I can help it as the light that bounces back from them can look artificial. I prefer using the white side to reflect light, and the black side to act as a negative fill to add more shape and contrast to my subject. Ideally, the bigger your reflector is the better, having a larger surface makes it easier to catch the light to bounce back and it also means you have a larger source of diffused light if you remove the outer layer.
Aside from using reflectors, you can shape natural light how you would with artificial lights, by using flags and scrims to block, bounce and diffuse the light. Depending on the amount of light and time you have available this is a fantastic way to make your image look really professional.
Choose appropriate locations for the time of day
This may sound obvious, but if you are working on a shoot with only daylight, you should structure the production around what locations will look best at a particular time.
For this to be pulled off flawlessly, you absolutely have to put in the effort in your pre-production to make sure you not only know what each location looks like at what time but also to have backup locations in case your weather and lighting weren’t what you had originally planned.
There’s no point in showing up to a location at the wrong time with the wrong weather and shooting sub-par shots unless you have no other choice. If you can, take the time to do a recce and actually see how each location looks. Keep an eye on weather forecasts and use your best judgement on how a particular spot will look in the lighting conditions you want.
It’s not always possible to plan for every eventuality, but knowing where else you can go and how to deal with poor light could very well save your shoot.
Work With The Weather
Following on from the previous tip, we can’t always expect sunshine and work with beautiful golden light from sunrise and sunset (unless you live in California apparently) so you will have to do your best to work with whatever weather conditions are available.
Despite your best efforts, you can’t always get the same weather and lighting conditions that you had during recce’s and you may be unable to postpone or reschedule a shoot. It will be times like this that you have to roll with whatever nature throws at you.
Here in the UK and Ireland we almost always have some form of full or partial cloud cover that can change the available light very quickly, which can make getting consistently lit images a pain. Thankfully, it does mean that we are very well equipped for understanding how cloudy days affect the light that we have to work with.
On very heavily clouded days it is like working with a gigantic soft light source, which can be great for portrait shots that give beautiful even light on a subject's face. The drawback is that there is very little contrast in the image, meaning we have to either bounce light back or use negative fill to remove the light from the scene to add more depth to the image.

If you live somewhere with constantly changing weather conditions then I highly recommend installing a weather app that can give you highly detailed readings of the ebb and flow of cloud cover. I have one installed on my phone that breaks down the weather into 5 minute chunks, showing me (with really good accuracy!) when we will have a break in rain and clouds. Having this information is crucial to being able to rearrange a shoot schedule and improvise other shots while you wait for a window of opportunity for the lighting conditions you actually want.
In the cases where you know there is zero possibility of your ideal lighting conditions appearing, then you will have to carry on the shoot regardless. Do your best to shape the light you have and try to reframe shots. Don’t be afraid to deviate from a shot list if it helps light your subject better and adds more to the depth in your image.
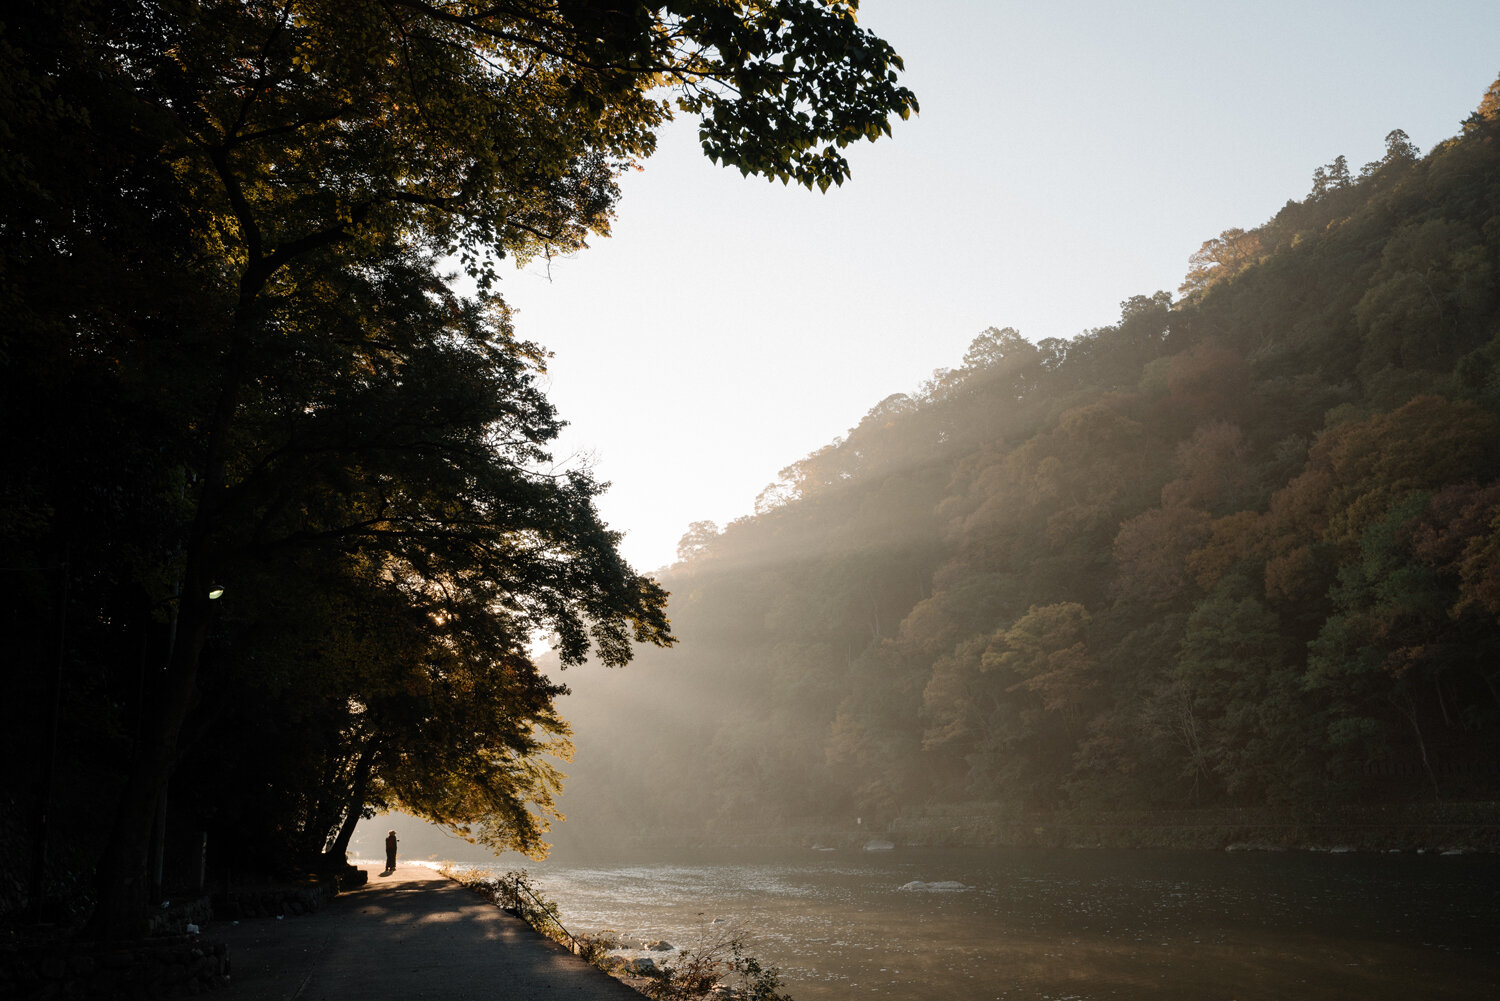
Backlighting and side lighting
Backlighting, backlighting, backlighting. This is the secret to how Hollywood productions look the way that they do. Once you know the formula you will see it in almost everything you watch.
Placing your main source of light, whether it’s natural or artificial, behind or to the back and side of your subject casts shadows towards the camera, adding shape, texture and helps add to the film-like feel of a shot.
This is especially useful when shooting in natural light because it not only adds shape to your subject, but also helps add contrast to your image, allowing your viewer's eye to pick out the areas of the image that are the most important.
But the benefits of backlighting your subject don’t end there! If your subject is a person, placing the key light behind them allows them to face the camera without being blinded by bright sunlight. This is particularly useful if they are delivering a line to the camera, or lined up for a group photo.
Positioning yourself so that the sun acts as a backlight also allows you to quite easily bounce light back towards your subject while still giving them a rim or hair light to separate them from the background. Using this effectively can completely transform the look and feel of your image, taking it from a good shot to a great shot.

Taking this a step further, when you begin to add and subtract light using bounce light and flags to shape the light, you will want to try to create a series of dark and light zones in your image.
The human eye is naturally drawn to looking in places of high contrast first, doubly so if there is a face to look at, so crafting and shaping the light in your image to go dark-light-dark-light-dark frames your subject and draws your viewer’s attention to what is the most important in your image.
